RepairTargeted damage repair
PolishingRestore shine
CoatingNew surface
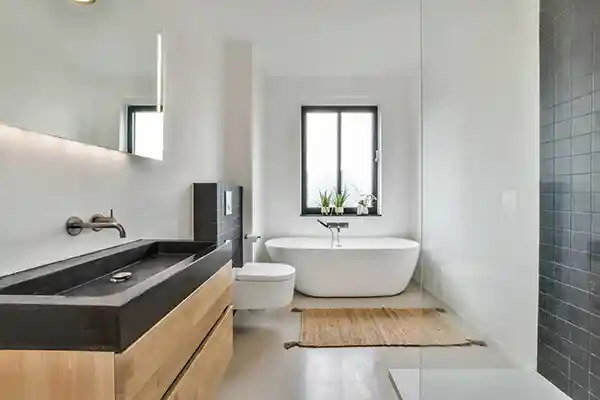
Tub out, shower inRenovation without structural work
bathtub doorEasy access
Slip resistanceRetrofitted
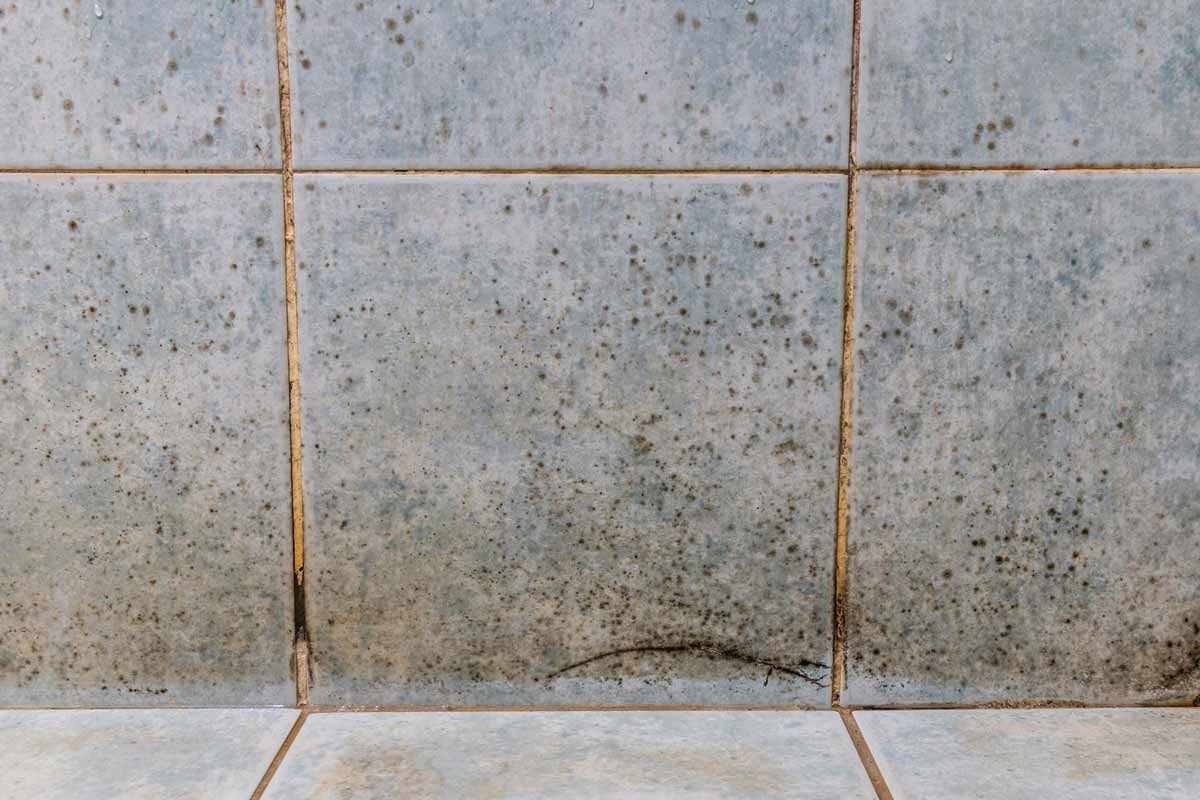
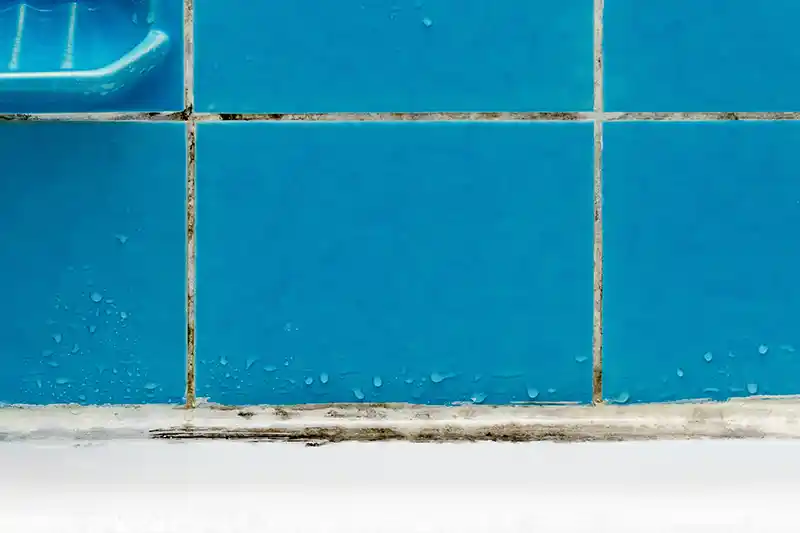
Joint renovationSilicone & tile joints
Wall coatingSeamless & waterproof
Tile paintingNew colour, no demolition
Moisture-resistant panelsMould-resistant
Joint renovationSilicone & tile joints
Level-access showerInstall flush with the floor
bathtub doorSafe entry
Slip resistanceFall prevention
Grab rails & supportsStandard-compliant installation

