ReparaturSchäden gezielt beheben
AufpolierungGlanz zurückbringen
BeschichtungNeue Oberfläche
Wanne raus, Dusche reinUmbau ohne Rohbau
BadewannentürLeichter Einstieg
RutschhemmungNachträglich angebracht
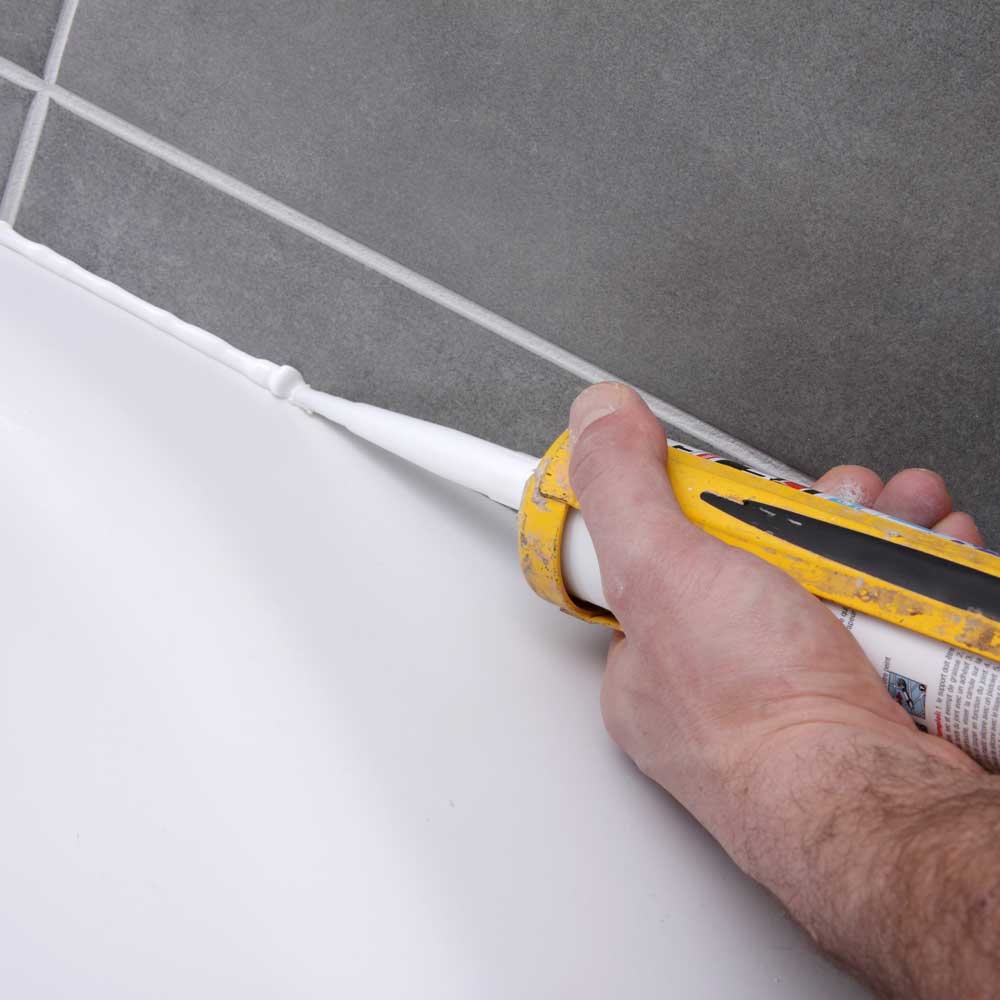
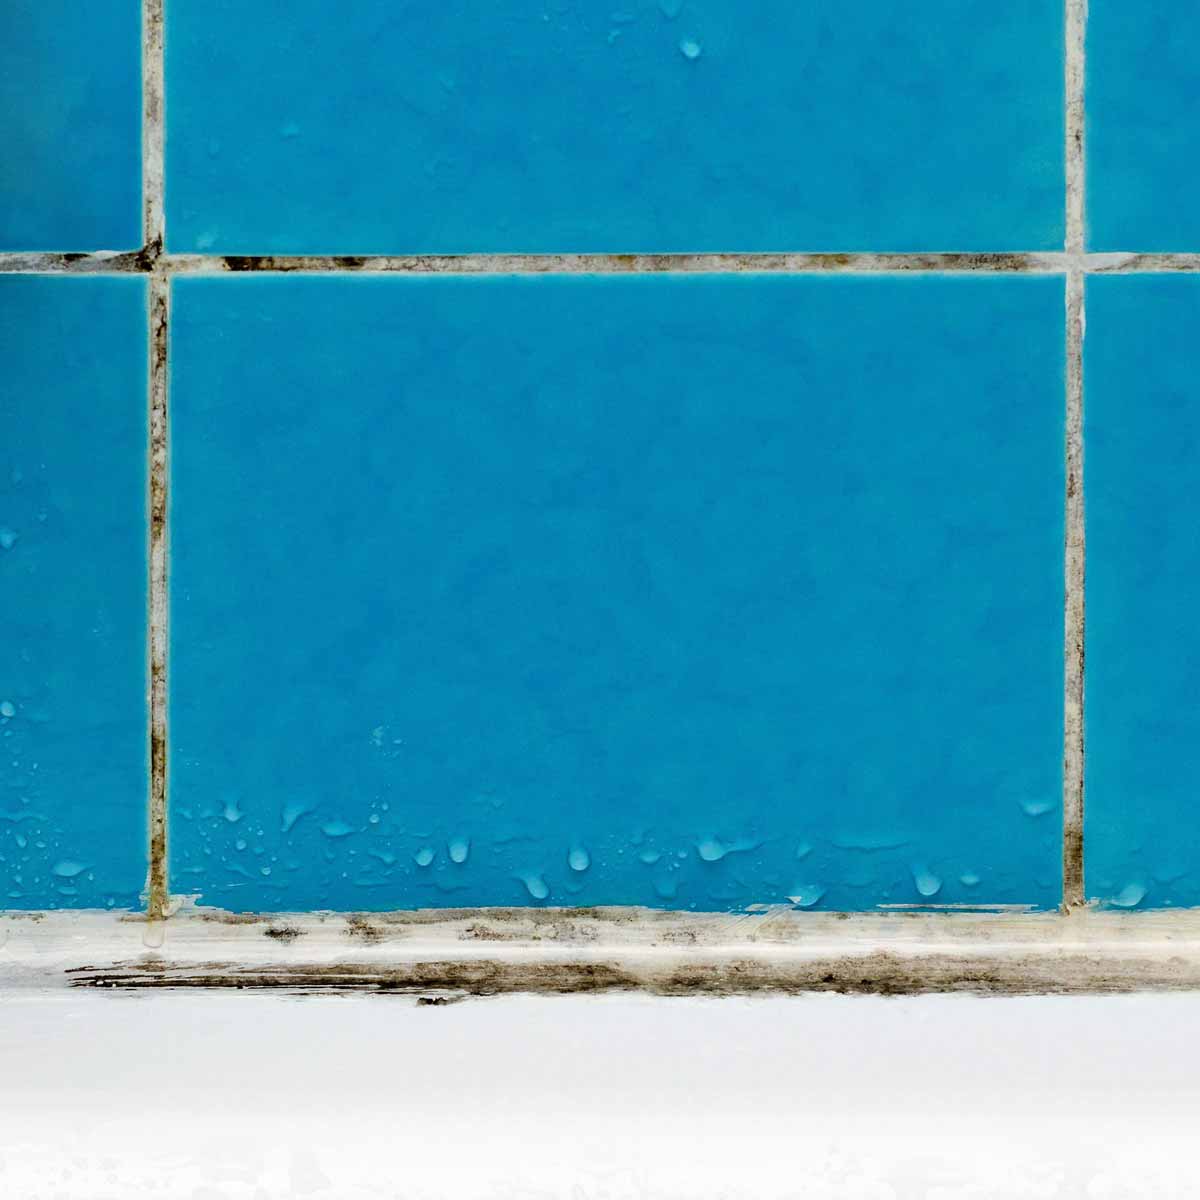
FugensanierungSilikon & Fliesenfugen
WandbeschichtungFugenfrei & wasserfest
Fliesen lackierenNeue Farbe, kein Abbruch
FeuchtraumpaneeleSchimmelresistent
FugensanierungSilikon & Fliesenfugen
Bodengleiche DuscheSchwellenlos einbauen
BadewannentürSicherer Einstieg
RutschhemmungSturzprophylaxe
Haltegriffe & StützenNormgerechte Montage